Synopsis: Gargra has 3 wolfs that all to beast damage. The first pet to bring in is a mechanical for the damage bonus, and the second is a flyer for reduced damage. Pretty easy.
Goal: To defeat the tamer with 2 pets so that a third pet can be carried through for maximum experience gain.
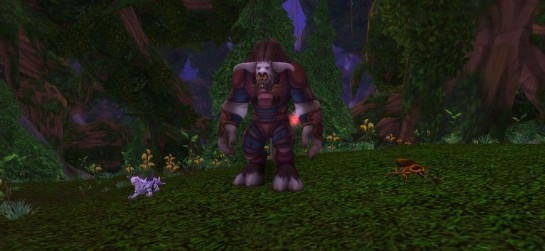
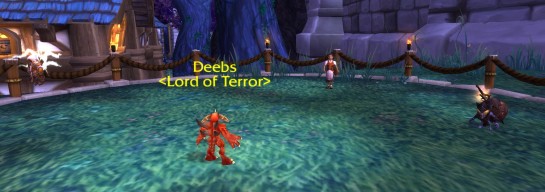
Gargra’s Team
 Wolfus with Bite, Call the Pack, and Prowl
Fangra with  Flurry,
  Dodge, and Dazzling Dance
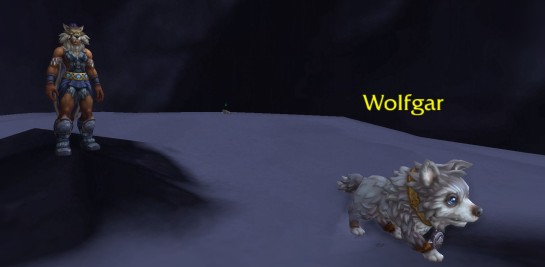
Wolfgar with Rip, Howl, and Maul
Your Team
 Lil’ Bling – Inflation, Extra Plating, Make It Rain
 Skywisp Moth – Slicing Wind, Cocoon Strike, Call Lightning
Carry Pet
Start with Bling and get your defenses up first with Extra Plating. Then, use Make It Rain and Inflation. If Wolfus dies on your second turn of Inflation, just use Make It Rain on Fangra and he’s toast. If your third turn of Inflation kills Wolfus, you’ll still lead with Make It Rain on Fangra, but you’ll need some defense after that so use Extra Plating. Pass your next turn (cause Fangra will dodge it anyways) and then Make It Rain followed by Inflation. There are a few ways of the fight going so if your Lil’ Bling is still alive when Wolfgar comes in, you can happily take the Howl and die on the next turn after using Inflation. If your Bling died against Fangra, bring your Moth in and svae Cocoon Strike for dodging the Howl. Either way, you want to nullify the Howl. Also, anyway the fight goes, bring your Carry Pet in before bringing the Skywisp Moth in. You want that nice experience for the pet!
 Entangling Roots, and
  Shadow Talon,
  Consume Corpse, and
  Emerald Proto-Whelp –
 Acid Rain,
  As part of my series on the Menagerie Daily quests, today you’ll defeat a trio of little birdies.